

SpaScenes Installation Instructions
Click a link below to view our 6 minute Installation Video:
Quicktime Format (13.3 MB)
Windows Media Format (9.2 MB)
Installation:
SpaScenes Trim-to-Fit design means you can install one on any new or existing spa cover in about an hour and no special tools or experience is required. SpaScenes can be trimmed to fit any size and shape spa or hot tub from square, octigon or round. Every thing you need to mount a SpaScenes mural is included with the mounting kit in each package. Each kit comes with complete illistrated instructions.
No special tools required for installation. Only these household items are needed:
- Pencil (not a pen)
- Ruler (Panoramic style only)
- Masking Tape
- Sharp scissors
How Do They Mount?: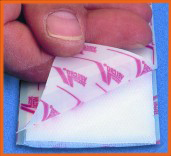
This is the #1 question we get. SpaScenes mount on the surface of the spa cover and can be removed without harm to the cover. Utilizing hook and loop fasteners with a specially formulated high-performance adhesive, SpaScenes mount easily and securely while being easy to remove for cleaning or interchanging with different scenes. SpaScenes can also be transferred to a your new replacement cover or spa with the Re-Mount Kit accessory.
Installation Requirements:
Cover Lift Arm Systems - SpaScenes typically require the use of a cover lift arm system on the spa that holds the cover more than 20” above the spa deck when open. Some cover lift arm systems allow the cover to drop behind the spa with only 12” or so showing above the deck. We do not recommend using a SpaScenes with these type of lift arm systems as in our opinion, there is not enough of he spa cover showing for you to enjoy the benefits of SpaScenes.
SpaScenes can also be used without a cover lift system if you have an in-ground spa and you typically remove the cover and lean it up against the house next to the spa. Of course the distance away from the spa and height etc are limiting factors, however many have enjoyed SpaScenes in this way.
Surface Preparation:
It is absolutely crucial that the spa cover be above 65 degrees F. and absolutely dry when applying the mounting sets. If any time a mounting set does not adhere well to the spa cover, it is because of moisture or the temperature of the cover. Each SpaScenes kit comes with Alcohol wipe to help clean the surface and remove small amounts of moisture. Make sure the alcohol is completely dry before applying the mounting sets.
SUMMARY OF THE INSTALLATION PROCESS:
Don't worry, every SpaScenes Kit comes with complete illistrated instructions.
Preparation:
Clean and Dry the underside of your spa cover (Dry is the key!)

Position:
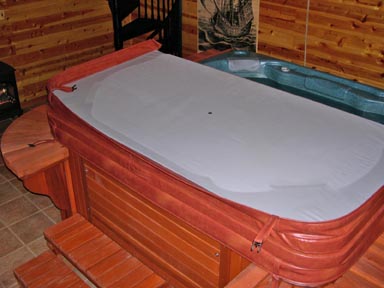
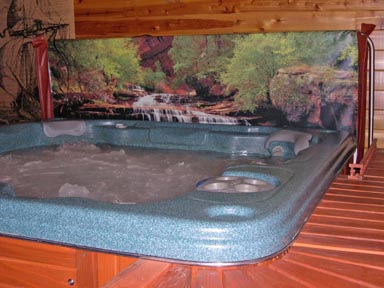
Position the SpaScenes mural on your spa cover. Left, right, up, down - adjust any way that want. Shown is a Panoramic style product. Don't worry, the white part is hidden behind the spa when the cover is up. In this case, the spa deck will rest 2" above the bottom of the image.
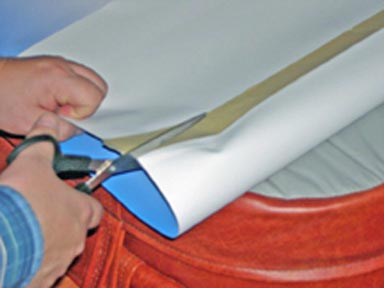
Trim-to-Fit:
Carefully trim the mural to your cover.
(follow the instructions completely and you’ll get a great fit)
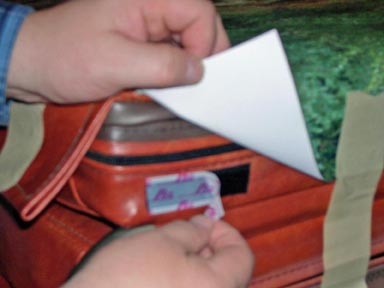
Mounting:
Mount on the cover with mounting strips provided. Remember, Dry is the key.
Enjoy!
Step back and say “Wow – that’s cool!” and enjoy your spa experience like never before.
